Congratulations to my friend Carrie! She won the Me and Lulu Giveaway! There were no comments, but I saw Carrie post on Facebook and Pinterest. Thanks for the love Carrie!
I am a little obsessed with pinwheels- nothing says summer like pinwheels in my mind! I want to make these and put them everywhere.... on a wreath, on notecards, on gift boxes, on picture frames. Cuteness! And, they are super easy and inexpensive.

You will need scrapbook paper and brads. The 2-sided printed paper works best... you will see why.

Cut your paper down to a square size, I recommend 4" - 6" for your pinwheel. Fold you paper in half to make a triangle.

Fold it again to make a smaller triangle.

Open your triangles back up and punch a whole just off of the fold line in each corner. Your brad will be going in the hole, so nothing too big.

Now, cut your paper along the fold lines leaving about 1/2" in the middle still in tact. This will form the base of the pinwheel.

One by one, lift the corner up and place the brad through the punched hole.
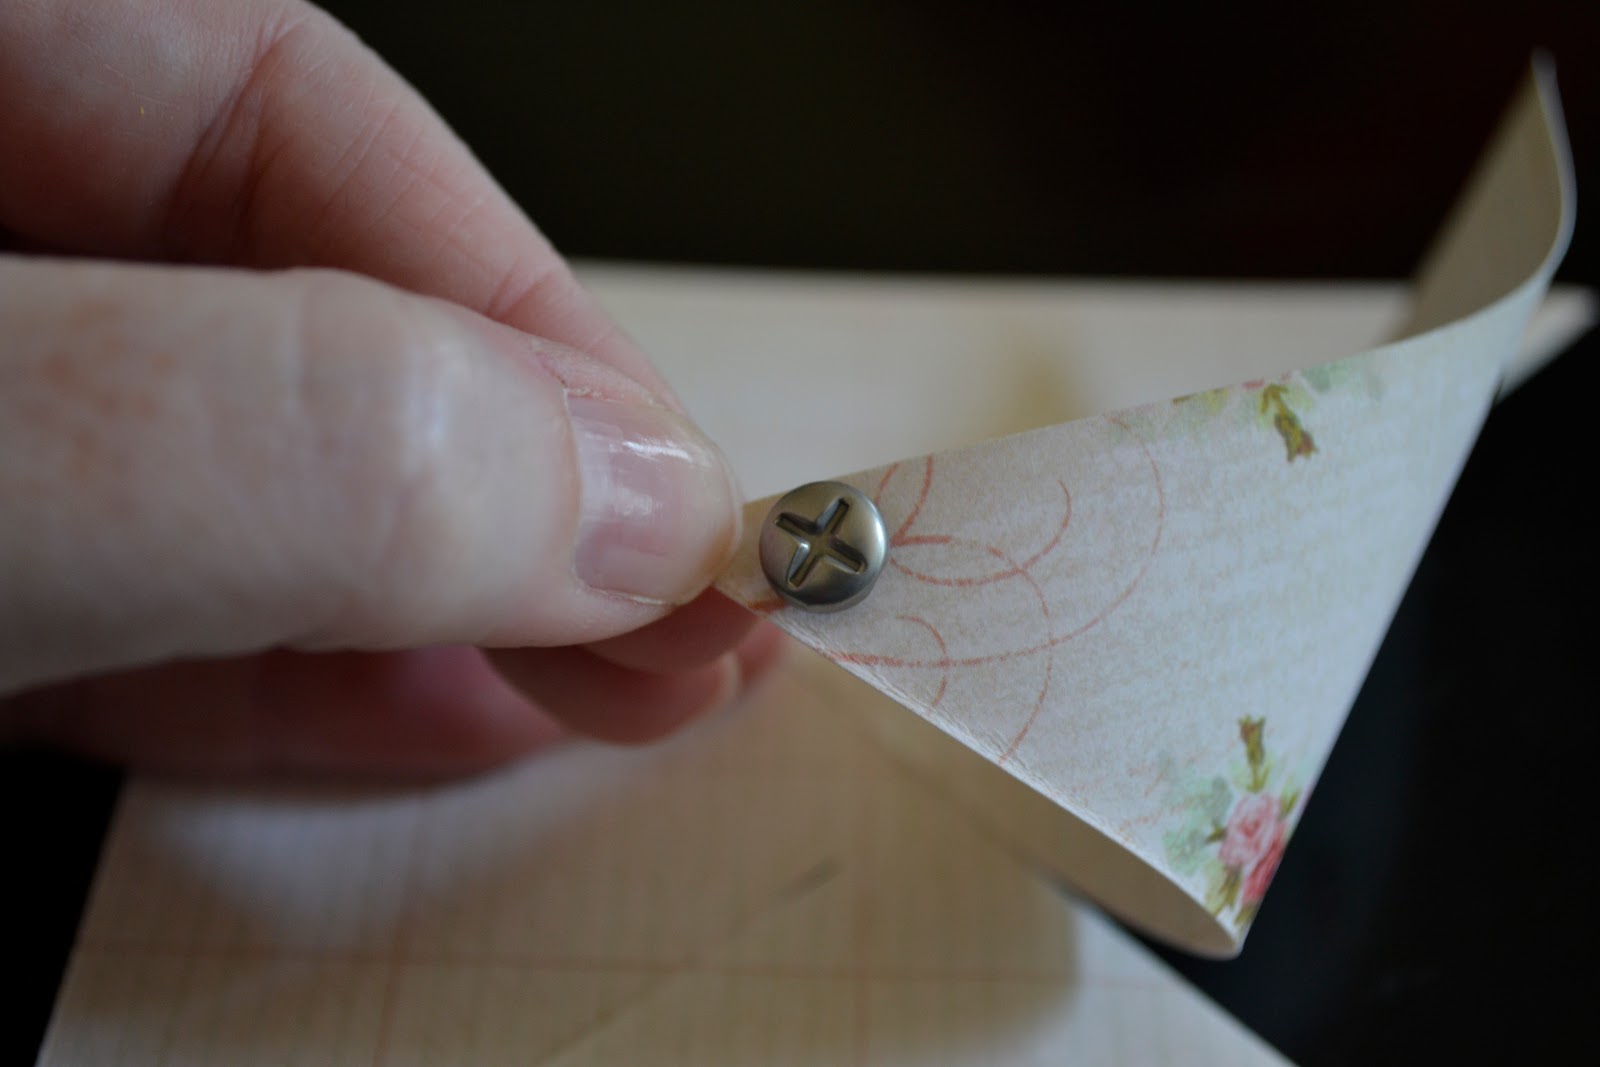

Once all four side are in the brad, press down to poke a hole in the middle of the back (where you didn't cut) and then open up your brad.

The back should look like this...

I bought a 6x6 pad of coordinating papers and made a handful of pinwheels. These are part of the Mother's Day project, so stay tuned!

