Showing posts with label Annie Sloan Chalk Paint. Show all posts

Tuesday, May 26, 2015

New Powder Room with Tin Ceiling

It sure is hard to get a good picture in a dimly lit powder room, so bear with me!

My powder room was painted baby blue years ago. It was supposed to be a calm blue grey color, but was more of a nursery blue. I've lived with it, until now!

I first pulled down my copper brown mirror and painted it Annie Sloan cream and added a little dark wax in the details. 


Next came the small cabinet over the toilet, I also painted it cream and added dark wax with a tiny little paintbrush. I really love how this cabinet turned out!


Next, it was time for a wall color. I spent lots of time on Pinterest looking at "greige" colors. Since my last color went badly, I knew I needed to get it right this time! I used Sherwin Williams Perfect Greige. After I painted a little on the walls, I took it back and had them add the color in a second time making it 200% color. I wanted a chocolate milk shade of brown. Really creamy and warm, but not really dark.


Next was the ceiling tin project! Since we painted first, we were able to be sloppy in the ceiling. Let me tell you what a blessing that was. Painting a tiny powder room is the worst. I had to sit in funky positions, put my head behind my toilet while straddling it, try and get behind the pedestal sink without getting the sink or pipes coming out of it. It was work! 


But oh the work was worth it! Here is the same ceiling as above with the tin up and the vent cover back on. The tin I had used before on a backsplash in our old house and knew it was easy. It cuts with scissors and applies with heavy duty spray adhesive. It really doesn't get much easier! This time around, it was given to us from a friend with leftovers, but can be found at Lowe's. Our powder room used 9 sheets.


Now it was the fun time to add a few accessories. The crate and twig ball are from Home Goods and the greenery and chicken wire bottle are from Hobby Lobby.


I added a vintage wire basket from Decor Steals to make getting a new roll easier on our guests. Housing it in the cabinet above the toilet was tricky when new paper was needed. 


Finally, I added a preserved cotton wreath above the toilet. It is also from Decor Steals, the newest most dangerous flash sale site I know!


So, what do you think? Want to add tin to a room in your house? 

Monday, April 27, 2015

Wood Plank Wall- How to make it Random

Over the weekend my husband and I installed a wood plank wall in our living room. This cut out around our TV is large and I've painted it red then painted it brown and I've never thought I did it justice until now. The wood plank wall is a focal point in my living room!


You can find a number of tutorials on Pinterest to install a wall like this. After looking around, we ultimately went with a tutorial from Creative Little Daisy and even took her recommendation on buying a tongue and groove wood. Rather than repeating her tutorial, I wanted to share my system from making the wall look random.

I am type A, super organized and random just isn't in my vocabulary. Doing an 8 foot wall that we stare at watching TV "random" wasn't going to work for me. I needed a system to ensure it would be random. Excel to the rescue! My wall is 99" wide (8'3") and 105" (8'9") tall. I built my spreadsheet with each column representing 1 foot and each row the size of the wood plank- 3.56". 


From here, I started planning out my various lengths of wood to create 8'3" rows. I used a combination of 2 or 3 boards per row and each board went from 2' to 6'3" with a number of combinations per row. Each row combination was given a color so that I could visually see them spaced out on the wall. For example, rows 8, 19, and 30 are all yellow and have a 6' board on the left and a 2'3" board on the right. I added up the color combinations to ensure I had a good balance of rows in column M.

On the next worksheet, I copied my original chart and then removed the colors. I then began applying the various stain choices. I wanted dark, dark with sanding, a medium toned stain, a red stain, grey, turquoise, natural, and then a cream color. You'll see the lengths on each row match the spreadsheet above, but now the colors match the stain colors.


In column O, I counted out how many of each stain color I had and then Excel helped me to determine how long each board was and then how many boards I would need to buy and stain in each color. I ended up buying 7 packages of Evertrue pine boards for my wall. Each package of boards has size 8' boards and cost around $10 at Lowes.

My final spreadsheet took the stained rows and lumped like colors together so that I knew how many boards to paint/stain each color. Knowing my boards were 8' long, I was able to put a 4' and 3' of the same stain on the same row since I would be cutting the 8' board to make a 4' and 3' board.


Now, it was time for my computer work to make it's way to the garage! I started by staining all of my boards. I used a nice paintbrush and a variety of stains seen below. After the paint/stain was dry, I sanded most of them. You want a faded aged look with this project. I used an electric sander and coarse sanding sheets. Everything is stain except the Annie Sloan Provence chalk paint and the Crisp Khaki. Both I already had on hand. Chalk paint sands the best and is always my favorite!


I love that this color combination brings in the red of my hardwood floors, the dark wood of my entertainment center, the turquoise blue of my new dining room, and the weathered grey of my breakfast table.

Once my boards were counted, stained and sanded, I flipped them over and started measuring. I used my measuring tape and drew three things on each board- a cut line for my husband, the board's length, and then where it would appear on the wall. For example, 5' #19A is the first/left board on row #19 and then 3'3" #19B is the second/right board on row #19.


My husband used a table saw to cut the boards. Cutting all 42 boards took only a couple of hours. 

He would cut and hand them to me and I would start stacking the boards together by rows.


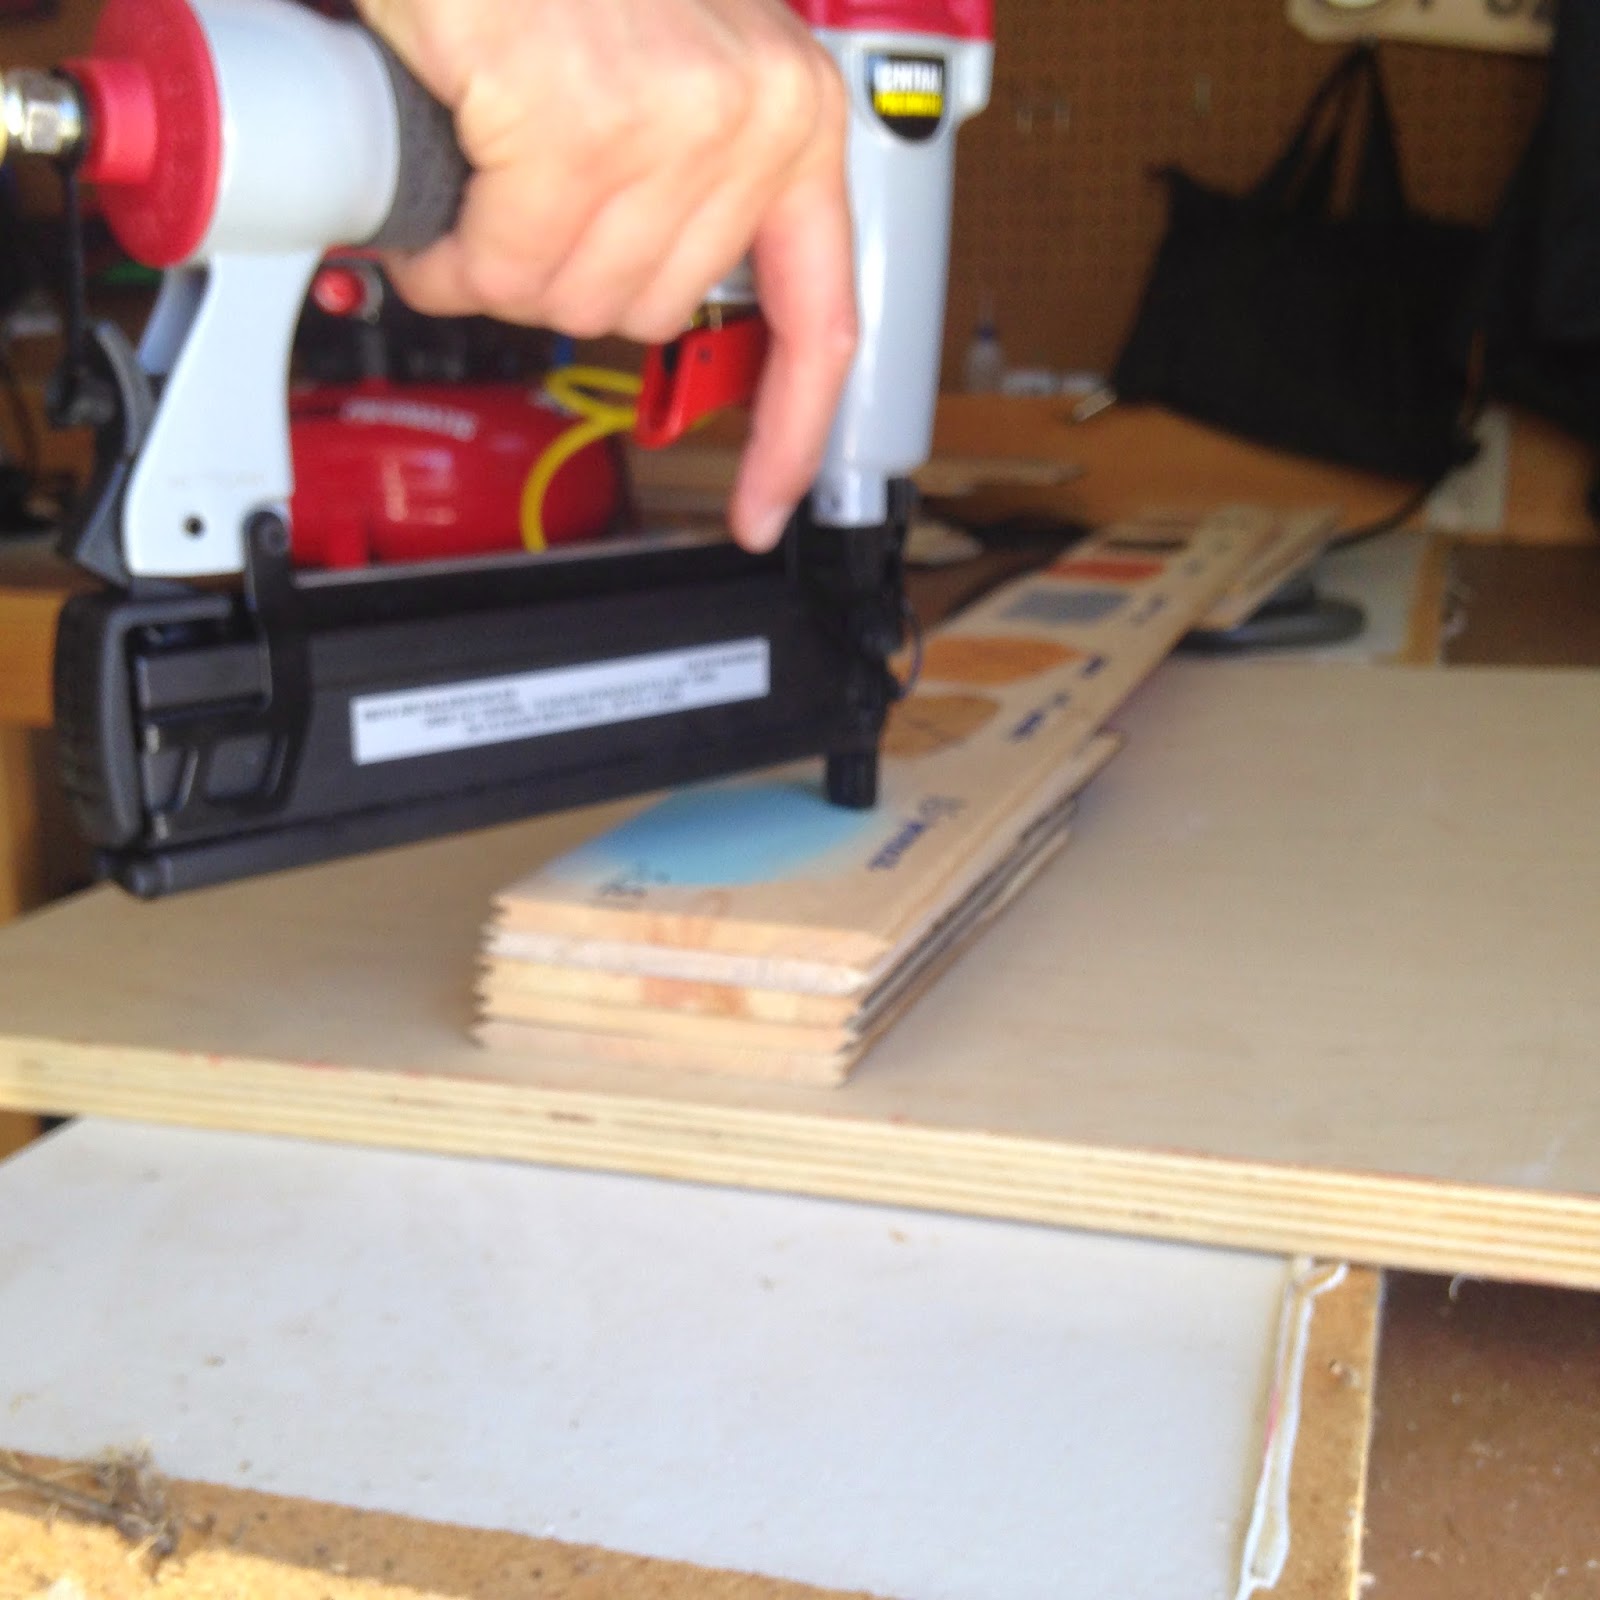
We then played around with some scraps to determine the proper PSI for the nail gun. This was a Christmas present he hadn't used yet, so it took a few trys to learn that 55 PSI was good for getting the nail into the board with minimal damage.


Install time! We removed the TV from the wall very carefully joking if my inexpensive little project led to a cracked TV it wouldn't be an inexpensive project anymore! We had already put a small whole in the wall near the TV and again at the bottom near the plugs and had run our wires through it. So, the wall was pretty clean and ready! The random plug for surround sound above the TV had always bugged me and I was happy to remove the cover and just put wood right over it!


Installing the boards was quick! We would line them up and make sure the fit was snug from wall to wall and then staple away! With the tongue and groove, I could snap them together while Marcus came back with the nail gun and we didn't have to hold boards on the wall in awkward positions.

Knowing the size of our TV, we measured out how big of a square to leave around the bracket and kept moving down the wall. We wanted to make sure if we get a bigger TV in the future, the wall won't need adjustments.


Row #30 was the last row and the most work! We ended up needing to remove about 1/2" of the board to make it butt up to the baseboard cleanly. It took a little trail and error, but looks great now.


Overall, the project cost just over $100 for boards, stains, nails, and sandpaper. I think it was $100 well spent when you see the finished project!


Our next project- old ceiling tins in our powder room! The list never ends does it?

Wednesday, April 1, 2015

Table of Many Colors

 Check out my bright and sunny new kitchen table and chairs! The chairs were my birthday present and were such a tough choice! I looked everywhere online. Ordered silver ones from Target and returned them because they were so short they went under the table when pushed in. They I ordered aged yellow chairs online and canceled that order before it shipped. Finally, I found orange ones on Amazon and have loved them since I hit submit! My table was another story...


 We first bought this table and chairs in 2012 and I loved it. But, the black tabletop became a nightmare. It showed EVERYTHING. Every crumb in the fold down cracks. Every smudge of food not cleaned off. And, eventually, every fork poke and scratch. I couldn't get it clean to save my life. 


So, two years ago, I used some chalk paint and made it a clean and crisp ivory. It was good for a few months and then with a scratch or fork poke (seriously, I should figure out how to make my child stop poking the table!) the paint came off and the black came through. Once again, it looked dirty all the time. No matter what I did.


So, I grabbed a sander, some coarse sanding sheets and went to town on the tabletop. I had no idea what the wood would look like underneath. I had no idea how long it would take or if I could break the seal of the black paint it came with. I also had no idea it was red underneath the black. Holy moly I sanded for days.


And I discovered this gem. Real wood in good condition. This is the wood after being wiped down with a wet paper towel. When dry, it was pretty dull. I knew I wanted low maintenance and sealing it was going to be necessary. I asked my Instagram followers what I should do next and a grey stain with white wash with the overall vote. Back to Lowe's I went!


I selected a Minwax Weathered Grey stain and applied it and wiped it with a lint-free cloth. They sell bags of them for cheap.


After it dried, I went back over that with a 50/50 mixture of Annie Sloan Cream chalk paint and water. Again, using my rags I rubbed it on and wiped it off. 


Finally, to keep it looking the same after lots of wear and tear, I used a satin polycrylic by Minwax and applied 6 coats with a paintbrush. This provided a even minimal shine, seals everything in to prevent drink rings and give it the professional finish I was after. I kept the base black as originally purchased.


It is a fun new spot for dinner conversation with my family. Speaking of, we've added Jesus Calling for Kids to the supper table. It is a simple kid-friendly devotional that we do over dinner. I love reading it with Abby and then processing it with her. Last night we talked about how God is always good, but no one else is ALWAYS good. It allowed us to talk about needing Jesus when we aren't good and sin and giving grace to others when they aren't good. I highly recommend it at the dinner table. 


Two other things I am loving right now- silicone muffin cups for my Mix and Match Egg Muffins. Cleaning the muffin pan before these cups was a pain. So easy now!


Finally, I'm loving my new Blue Jean candle. It is springy with citrus and greens and clean with musk and patchouli. Loving it!


Happy Spring!

Tuesday, September 16, 2014

Craigslist Stalking Pays Off!

Look at this beauty- a 12 foot long church pew! I have wanted a long church pew in this space for about 6 years and would check on Craigslist every so often. Then I started checking daily! And a few weeks ago- I hit the jackpot. But, my pew wasn't this pretty when I met her....


She looked like this.... her previous owner used her in the backyard for potted plants. She was dirty, oh so dirty. I cleaned her with rags, swept her, vacuumed her and even sanded off layers of dirt. While living in the backyard, she became home to thousands of ants. I have sprayed and laid out traps for days and each morning I sweep up a few hundred more DEAD ants. 


After cleaning it up well, I sanded off most of the turquoise paint. I knew I wanted a more neutral color and that with Annie Sloan paint, sanding all the way wasn't necessary. Here is a clean and sanded pew ready for paint.


I ended up using an entire quart of Annie Sloan graphite on this project. It was so dry and just sucked up the paint. Plus, did I mention it is 12 feet long? Phew!


After two coats of paint, clear wax and my electric sander, I fell in love!


It is the perfect size for my big long foyer! Plus, we love storing backpacks and purses on it, and other things we need for the next day. It is on the way to the front door or the garage which is super convenient.


I added a quilt that used to be on my bed and a few throw pillows I was storing under the guest bed. I am imagining a lot of seasonal decor on the bench too! Can't you see a little Halloween doll sitting on here or a collection of Christmas pillows?


 There you have it- my long lost find on Craigslist that I just love!

To see more Annie Sloan projects I've tackled, click here. Or, to see the making of the gallery wall behind the pew, click here. 

Friday, August 22, 2014

Newest Home Improvement Projects- Paint and Lighting

We have had a busy month making some home improvements I've wanted for years! This was the month to get it done!

First, remember my Annie Sloan red kitchen island? Well it isn't red anymore....


I painted it Annie Sloan cream and used a little bit of dark wax on it. I love it! The red was fun, but it didn't stand out like the cream does in comparison to the other cabinets. Most people never even noticed it was different. It is high contrast now! 


We also finally painted an accent wall in the master bedroom. We went with Antiquity by Sherwin Williams at 75%. It is a great apple green color with a hint of gold and matches the bedding perfect.


I love the warm green against the old rustic star above my bed.


Finally, it was time to upgrade our lighting. My black french country chandelier received a big upgrade and it now matches the pendant light above my sink....


I bought the mason jar chandelier from Pottery Barn and my sweet husband installed it!


It is so me and provides a lot of light in that room which was needed! The up lighting of the chandelier just wasn't bright enough especially when crafting or sewing at night on this table.


I'm happy with these changes and feel like my house really represents my style. But, I'm not done. I have two more paint projects, another kitchen cabinet upgrade and a major foyer project coming! Stay tuned!


Wednesday, August 28, 2013

Abby Lu's New Bedroom

In converting Abby Lu's new bedroom from our guest room, I wanted it to be really soft. Her playroom is loud and fun and colorful, but I wanted this room to be a place of rest from the "noise" of the room next door. I didn't have a lot of money to spend on this one, so I focused all of my funds on the bedding and blackout drapes. All of them are from Pottery Bark Kids via eBay!

Her bedding is a collection of teapots on a pale pink background called Julianne. It came out years ago and I always loved it. I was happy to find the duvet cover and 2 shams for less than $100 on Ebay. I looked at bedding for days and surprised Abby with this. I didn't seek her opinion first, but kept her tastes in mind. Knowing how much she plays tea parties, I knew she would like this one. I have a white box pleat dust ruffle being hemmed and then should complete the bed.


Her nightstands don't match and that is okay with me! The white one on the left is from IKEA and she was using it in her room. The right mirrored one, used to be in her room until a game of catch turned into a chipped corner. It had been in the garage to donate, but I decided to just glue the piece back on and make it work for now. The chest at the foot of her bed is perfect for holding blankets and a great spot to sit at when putting on her shoes. You can see a tiny corner of the pink shag rug we used from her old room. 

The rod iron bed was originally red and with 3 cans of spray paint, it became a soft pink. 

Her white Hemnes dresser from IKEA and artwork from Small Words Art along with my favorite bow holder complete the "dressing" area in her room. I love walking right to her dresser without toys challenging my path!


On the short wall between the closet door and the entrance I used a painted chair from Goodwill. You can see it's transformation here. It helps bring in the vintage vibe I was hoping for. Next to it is a basket of her favorite bedtime stories. I had the basket forever and just spray painted it blue with paint I had in the garage.


The wall art is something I have loved for years and first blogged about in 2011. Using embroidery hoops of various sizes from Hobby Lobby, I added scraps of fabric and used coordinating washi tape and created a unique and inexpensive wall display.  


 On the other long wall, opposite the dresser, I used left over Anitbes Green chalk paint to personalize a white Hobby Lobby framed bulletin board. Abby loves to look at pictures of her and her friends and it is a great place to display little awards and medals she has received.


Her left nightstand has an old Pottery Barn kids lamp, a rustic tin flower purchased in Round Top, our favorite prayer, and her alarm clock. The green bucket on the bottom shelf houses all of her jewelry.


The right side of her bed has a fun rustic blue subway art purchase at Pier One imports years ago and along with the matching green lamp, a picture of her with me and my Mom and princess Kleenex. Her lampshades were originally solid white and I added a little hot pink paint to the trim. 


I just love her new little girl room! My favorite part- she looks like a little bitty thing in a queen size bed which is just what this Momma loves to see!